How Do I Set Up a Hanging LED Wall?
Apr 29, 2025In today's guide, we’re diving deep into the process of hanging an LED wall. Whether you're a beginner or an experienced AV professional, we'll break this down step by step to ensure you do it safely and effectively for the best possible results.
Understanding LED Wall Hanging Basics
An LED wall is an incredible tool for creating immersive visual experiences, but properly installing one is crucial for both safety and quality. Here’s what we’ll cover:
- Preparing your rigging
- Attaching hanging bars to LED panels
- Connecting and securing LED panels correctly
Let's get started!
Step 1: Preparing the Rigging
Before lifting anything into place, you need to ensure your rigging setup is safe, and calculate the weight and load capacity of your support structure. Here’s what to check:
- Use steel-loaded spansets or clamps designed for LED walls
- Confirm that your truss or rigging structure can support the total weight
- Always consult a professional rigger and/or engineer for building rigging weight capacity...this isn't a place to mess around!
Each LED panel weighs between 15 to 20 pounds on average. Before hanging, calculate the total weight of your wall and verify that your structure can support it. If using crank-up towers or truss arches, confirm their load limits before proceeding. If you're purchasing an LED wall through Above AVL, we can help you understand the math and figure out the appropriate rigging or truss options for your setup.
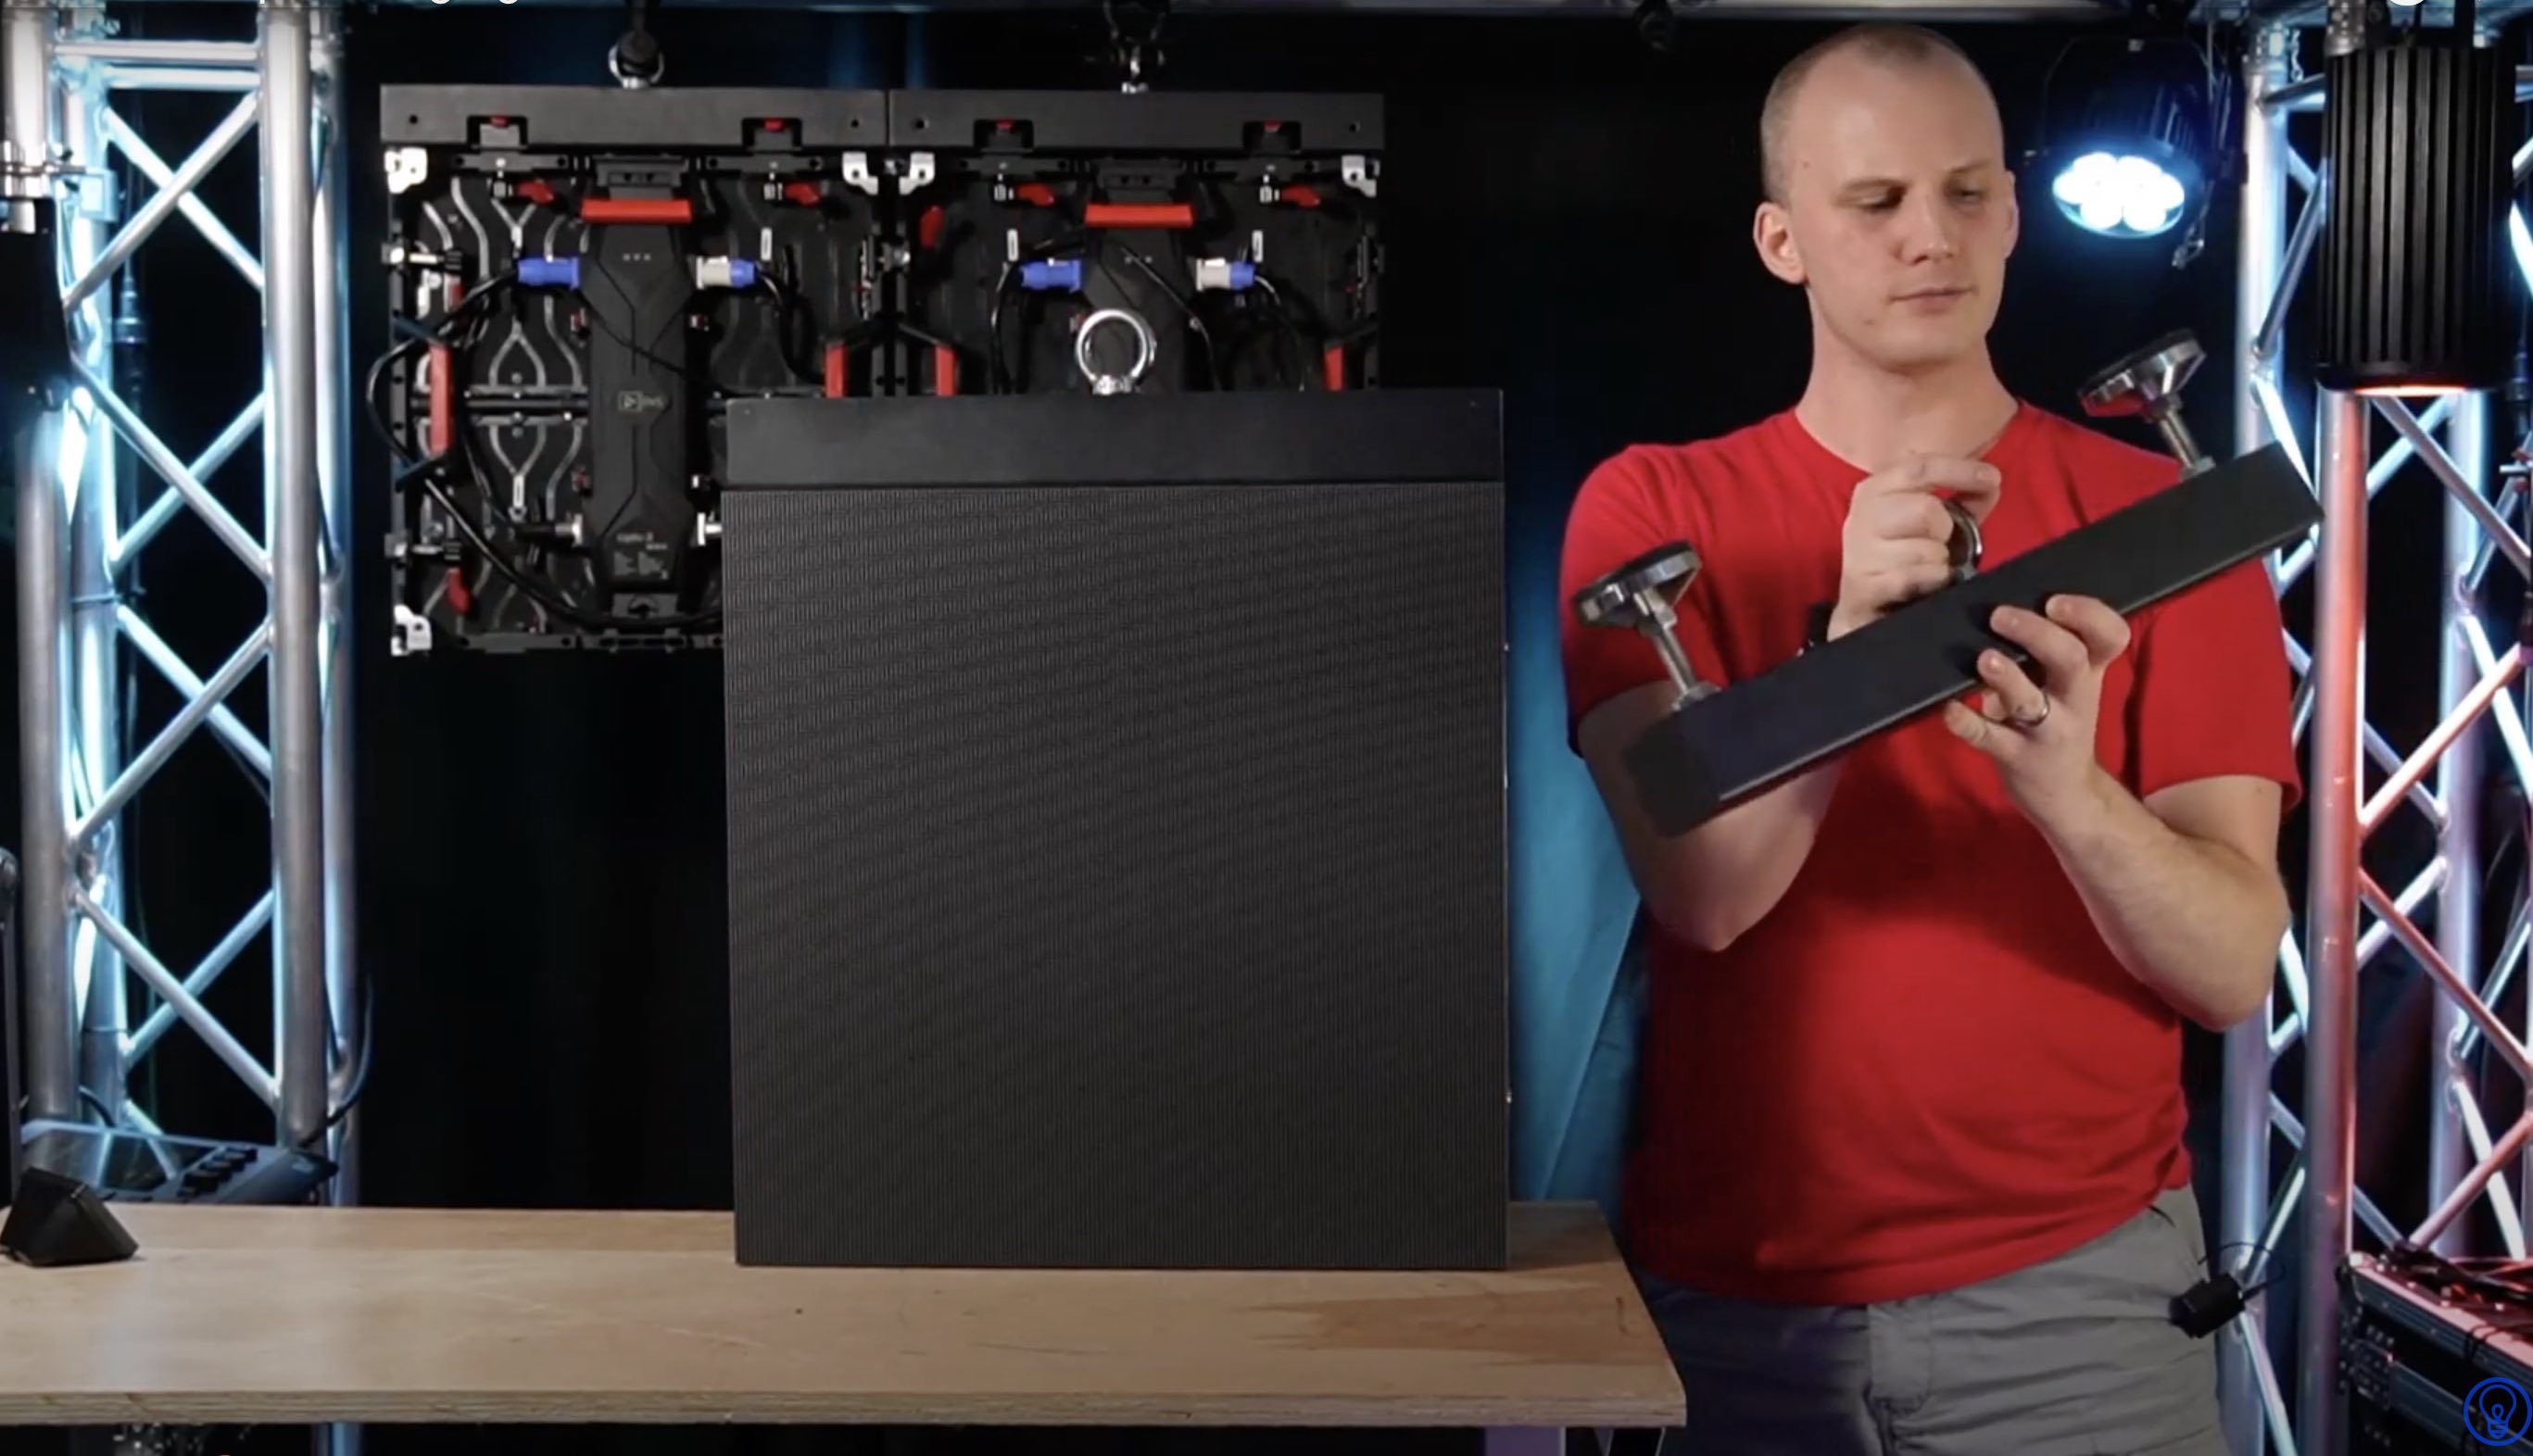
Step 2: Setting Up Your Hanging Bars
A hanging bar is essential for securing your LED panels. These bars typically include:
- An eye hook for connecting to rigging hardware
- Locks to secure the LED panels
- Adjustable feet (on some models) for ground support and leveling
When setting up, you can either hang the bars onto your rigging structure first, then lift and latch each panel into place, or begin by pre-mounting the top row of hanging bars onto your panels and then attach the hanging bar to the structure. The pre-mounting option can work better if you have limited help available.
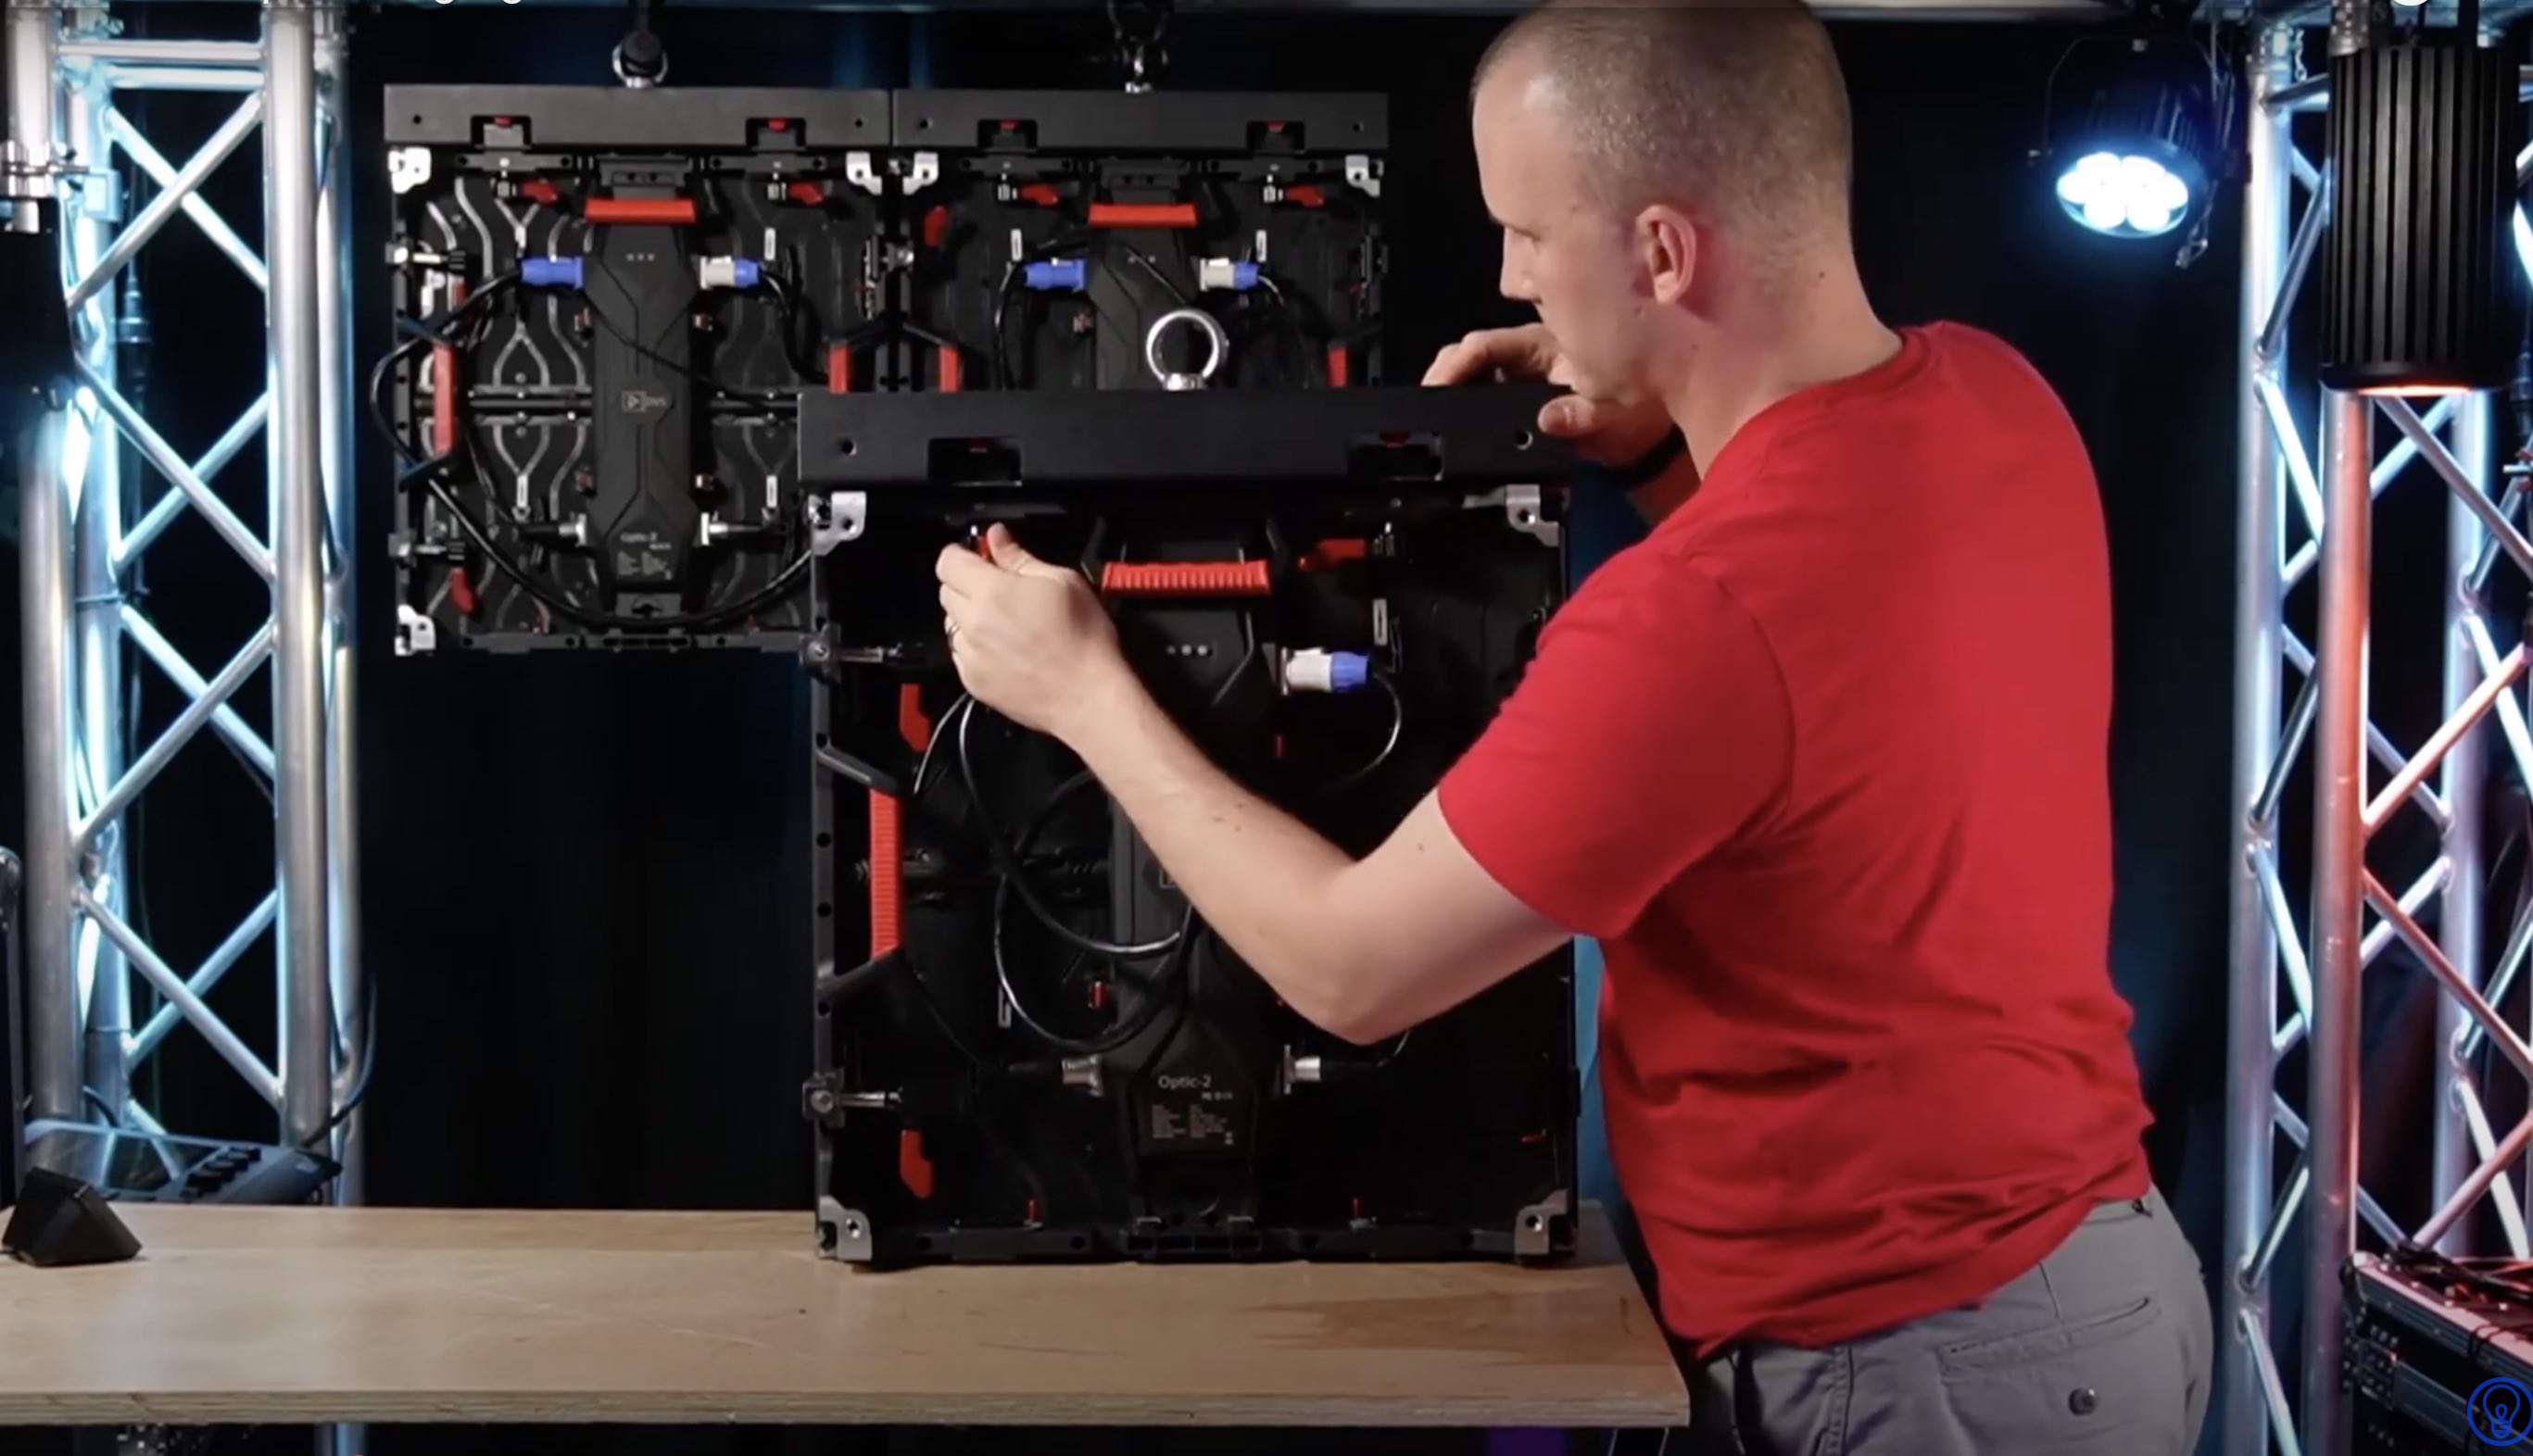
Step 3: Attaching the Rigging Bar to the Panel
For my demonstration, I chose to pre-mount the bars to the panels before hanging, since I’m working by myself. Once you’ve assessed the rigging setup, attach the rigging bar to the first panel. Most LED panels include top and bottom alignment pins to ensure a precise fit. Follow these steps:
- Line up the panel with the hanging bar.
- Ensure the alignment pins are correctly positioned.
- Tighten the latches securely—if they’re loose, double-check the alignment.
Pro Tip: If the latches don’t seem to fit, check if the corner protectors are still flipped up. These need to be in the off position before securing the panel.
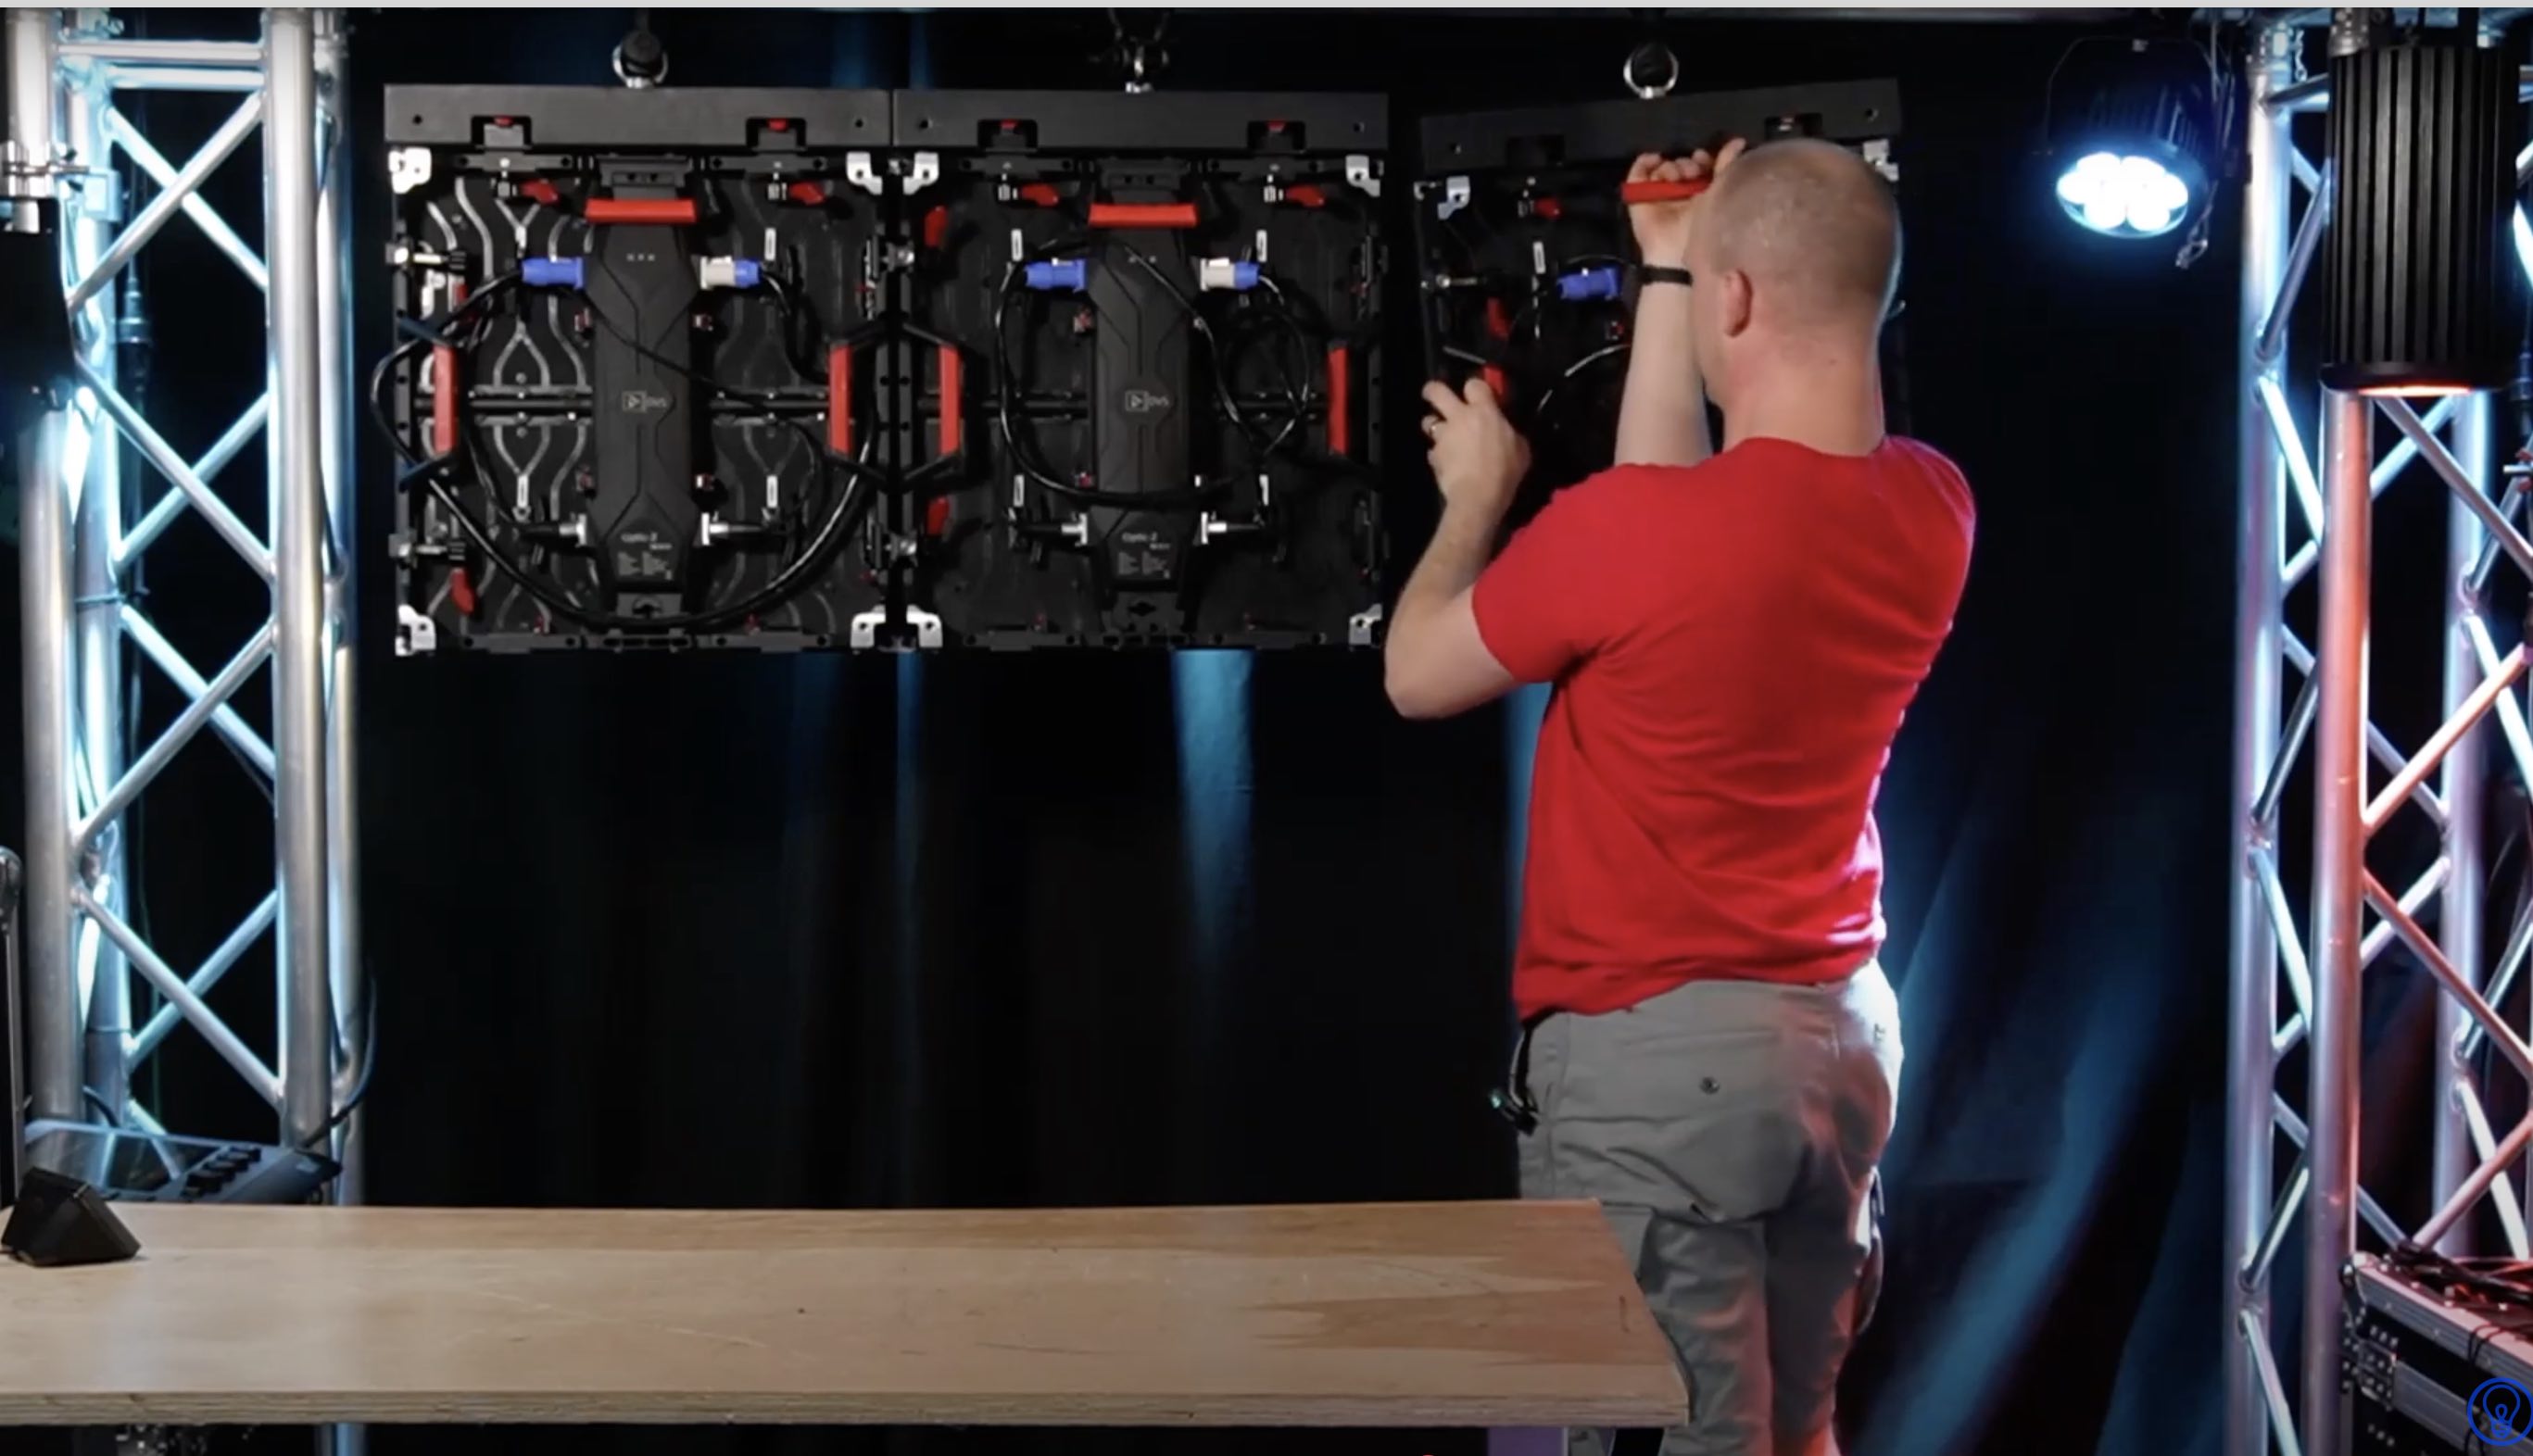
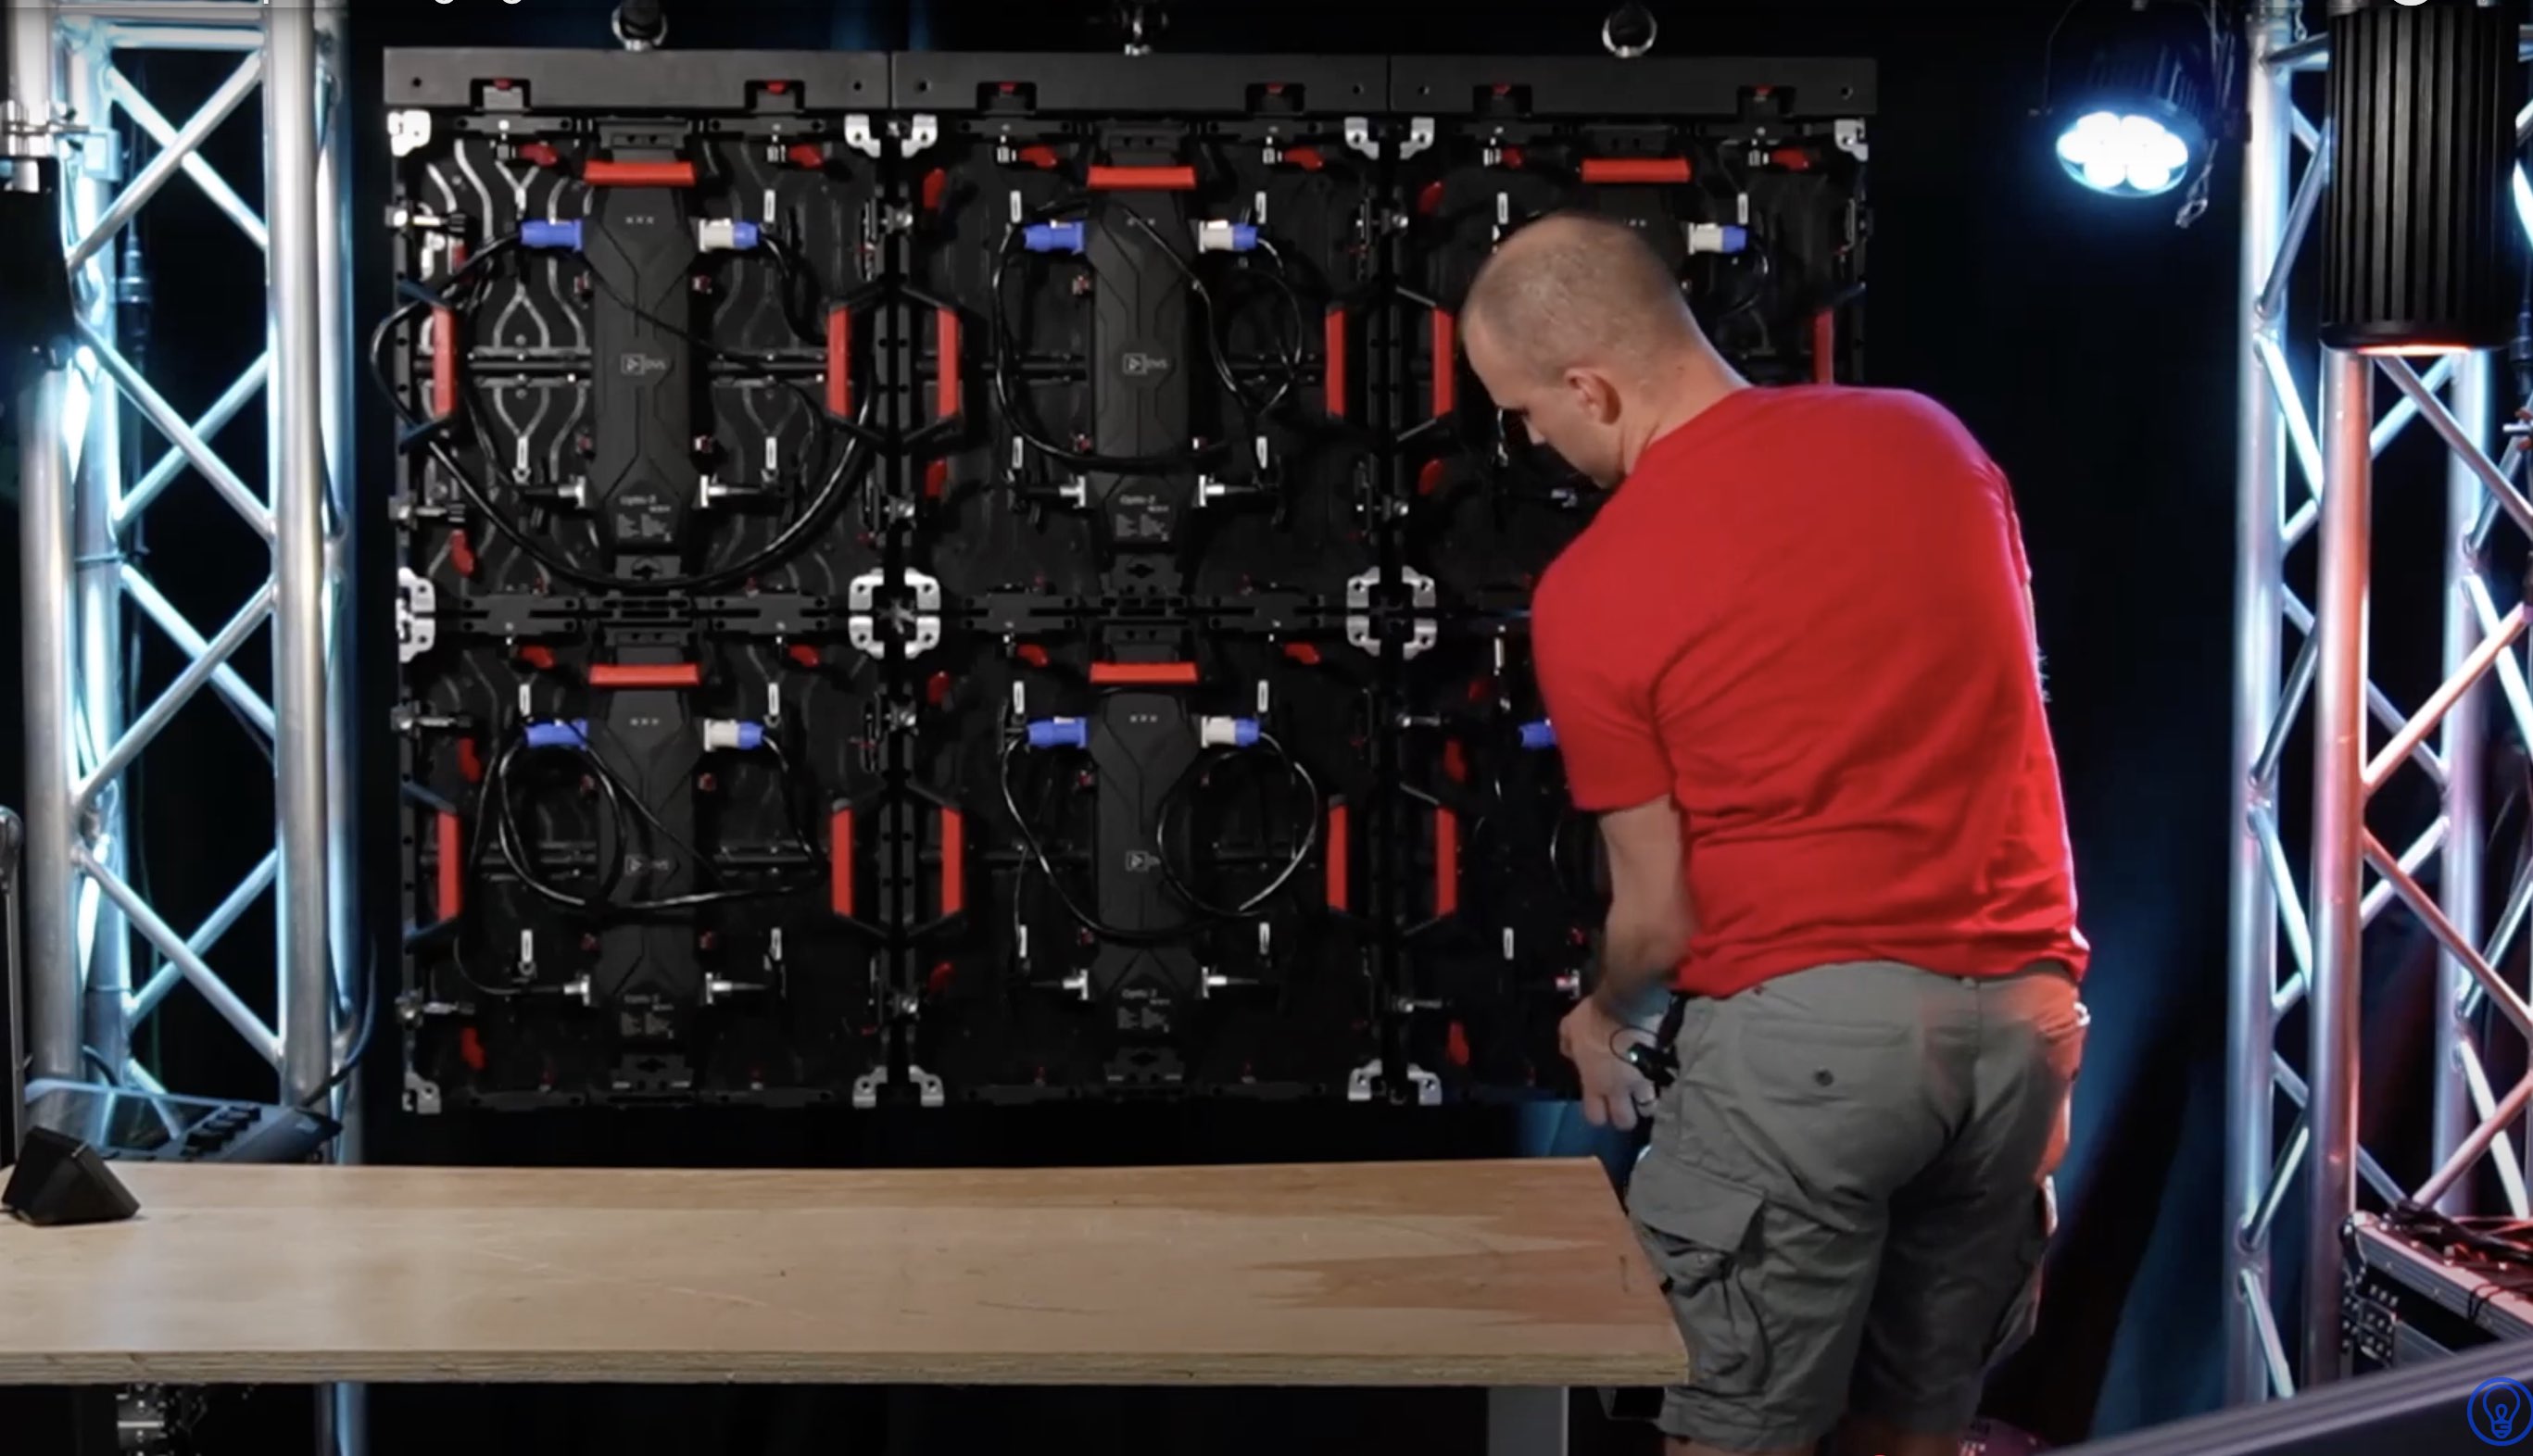
Step 4: Hanging the LED Panels
Now it’s time to lift the panel into position. Ideally, have a partner assist you to ensure a smooth and safe process. Here’s the best way to do it:
- Have a partner on the other side of the panel lifting with the side handles.
- Make sure bottom corner protectors are off.
- Align the panel with the others already in place.
- Connect the shackle to the spanset, ensuring a tight fit.
Once the first panel is up, repeat the process for additional panels, making sure to check alignment at each step. (Note - I am assembling this wall "backwards" for demonstration purposes.)
Step 5: Adding Additional Rows
After the first row is secure, add more panels row by row. Each time, check:
- Alignment of seams to ensure a smooth display – even panels with magnetic assists or pins sometimes need a little help to line up correctly
- Corner protectors are in the off position
- Locks are properly engaged along the top/bottom AND side(s) for lower rows
- Weight distribution is even across the rigging structure
Having an extra set of hands to hold each panel in place and ensure proper alignment while you secure the latches can make a huge difference!
Key Takeaways for a Secure LED Wall Setup
- Use proper hanging bars and rigging equipment – Safety first!
- Double-check weight calculations – Avoid overloading your structure.
- Check corner protector positions - Make sure they are in the off position before hanging.
- Secure all latches tightly – Loose locks are a safety hazard.
- Align panels carefully – Proper alignment ensures a seamless display.
- Have an assistant if possible – Extra hands make the job easier and safer.
What’s Next?
Now that your LED wall is securely hung, the next step is wiring and power distribution. Stay tuned for our next guide on how to properly connect and power your LED wall for optimal performance.
If you’re looking for high-quality LED walls, lighting equipment, or expert advice, visit Above AVL or send us a message. We also have a handy LED Wall Calculator to help you build a custom wall package. Our mission is to provide honest, helpful service so you can achieve outstanding results in your AV projects.
3 Mistakes You're Making When Purchasing Lighting, Audio or Video Gear:
You are most likely making these 3 mistakes which cause you to overspend, get the wrong gear, and end up frustrated. Grab our free guide to solve it:
