How Do I Wire an LED Wall?
Apr 29, 2025If you're diving into the world of LED walls, you might wonder how to properly wire them for optimal performance. Whether you're setting up a new LED wall or troubleshooting an existing one, understanding the wiring process is crucial. In this guide, we’ll cover everything from power processors and data wiring to backups and best practices.
Pixel Limitations
Each LED processor has a pixel limitation per port. For instance, a standard NovaStar processor using Ethernet (not fiber-based) can handle up to 650,000 pixels per port. Within a processor, some ports can be primaries and some can be backups, in case of a bad cable in the back of the wall. Backups are great – but only if you check them occasionally, or set up alerts in your processor app. Otherwise, you may be living with a bad cable and not know it until the other one fails, and then you have a problem. We’ll talk more about setting up redundancy later.
How many panels can you hook up in a chain of data? As many as you can fit within 650,000 pixels on most processors. It often makes sense to wire the power and the data with the same signal path, so that one panel starts both the power and data chain for a row or rows of panels. However, this isn't required, and your power wiring doesn't have to match your data wiring.
Using a processor like the NovaStar KU20 offers better efficiency compared to older models like the VX4, VX400, or VX1000. The newer models use COEX VMP software, which is more user-friendly and flexible. With the COEX software, you can wire up panels in any order....so technically, you can wire the data in whatever pattern you desire!
Power Cables and Power Usage
LED panels require both mains power and jumper cables to distribute power between panels. How many panels you can run on a circuit depends on how much power each panel uses. Again, it's easiest to wire both power and data in the same pattern, however, sometimes it doesn't work out or make the most sense.
Here are key points to consider:
- Mains Power: Typically, in the U.S., this means an Edison plug or L620 for 208V power.

- Power Jumpers: These cables connect panels together and vary in gauge. High-quality vendors provide 12-gauge cables, which safely handle up to 20 amps. Lower-cost vendors might provide 14 or 16-gauge cables, which have lower power capacities.
- Power Circuit Limitations: To determine how many panels you can run on a circuit, calculate the wattage per panel. For example, DVS Optic 2 panels we used in the video use 170W each, allowing up to 14 panels per circuit.
- Safety First: Always oversize your cables – 12 gauge is ideal – to ensure electrical safety and reduce the risk of overloading circuits.
Data Cables
-
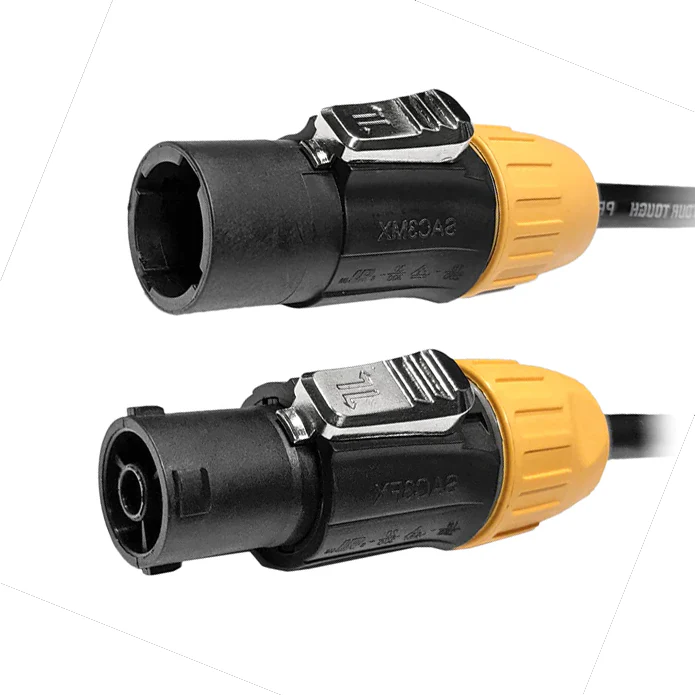
Ethernet-Based Connectivity: LED panels use Ethercon RJ45 cables for data transmission, with a Ethercon-style locking plug to protect the energy and lifespan of the plug.

-
Cable Quality: Cat5e cables are typically sufficient for LED walls handling up to 650,000 pixels.
-
Mains Data Cable: Quality brands should provide cables with a locking plug on the panel side and a standard RJ45 on the other, reducing the need for unnecessary adapters.
Wiring Process: Step-by-Step
-
Plan Your Layout
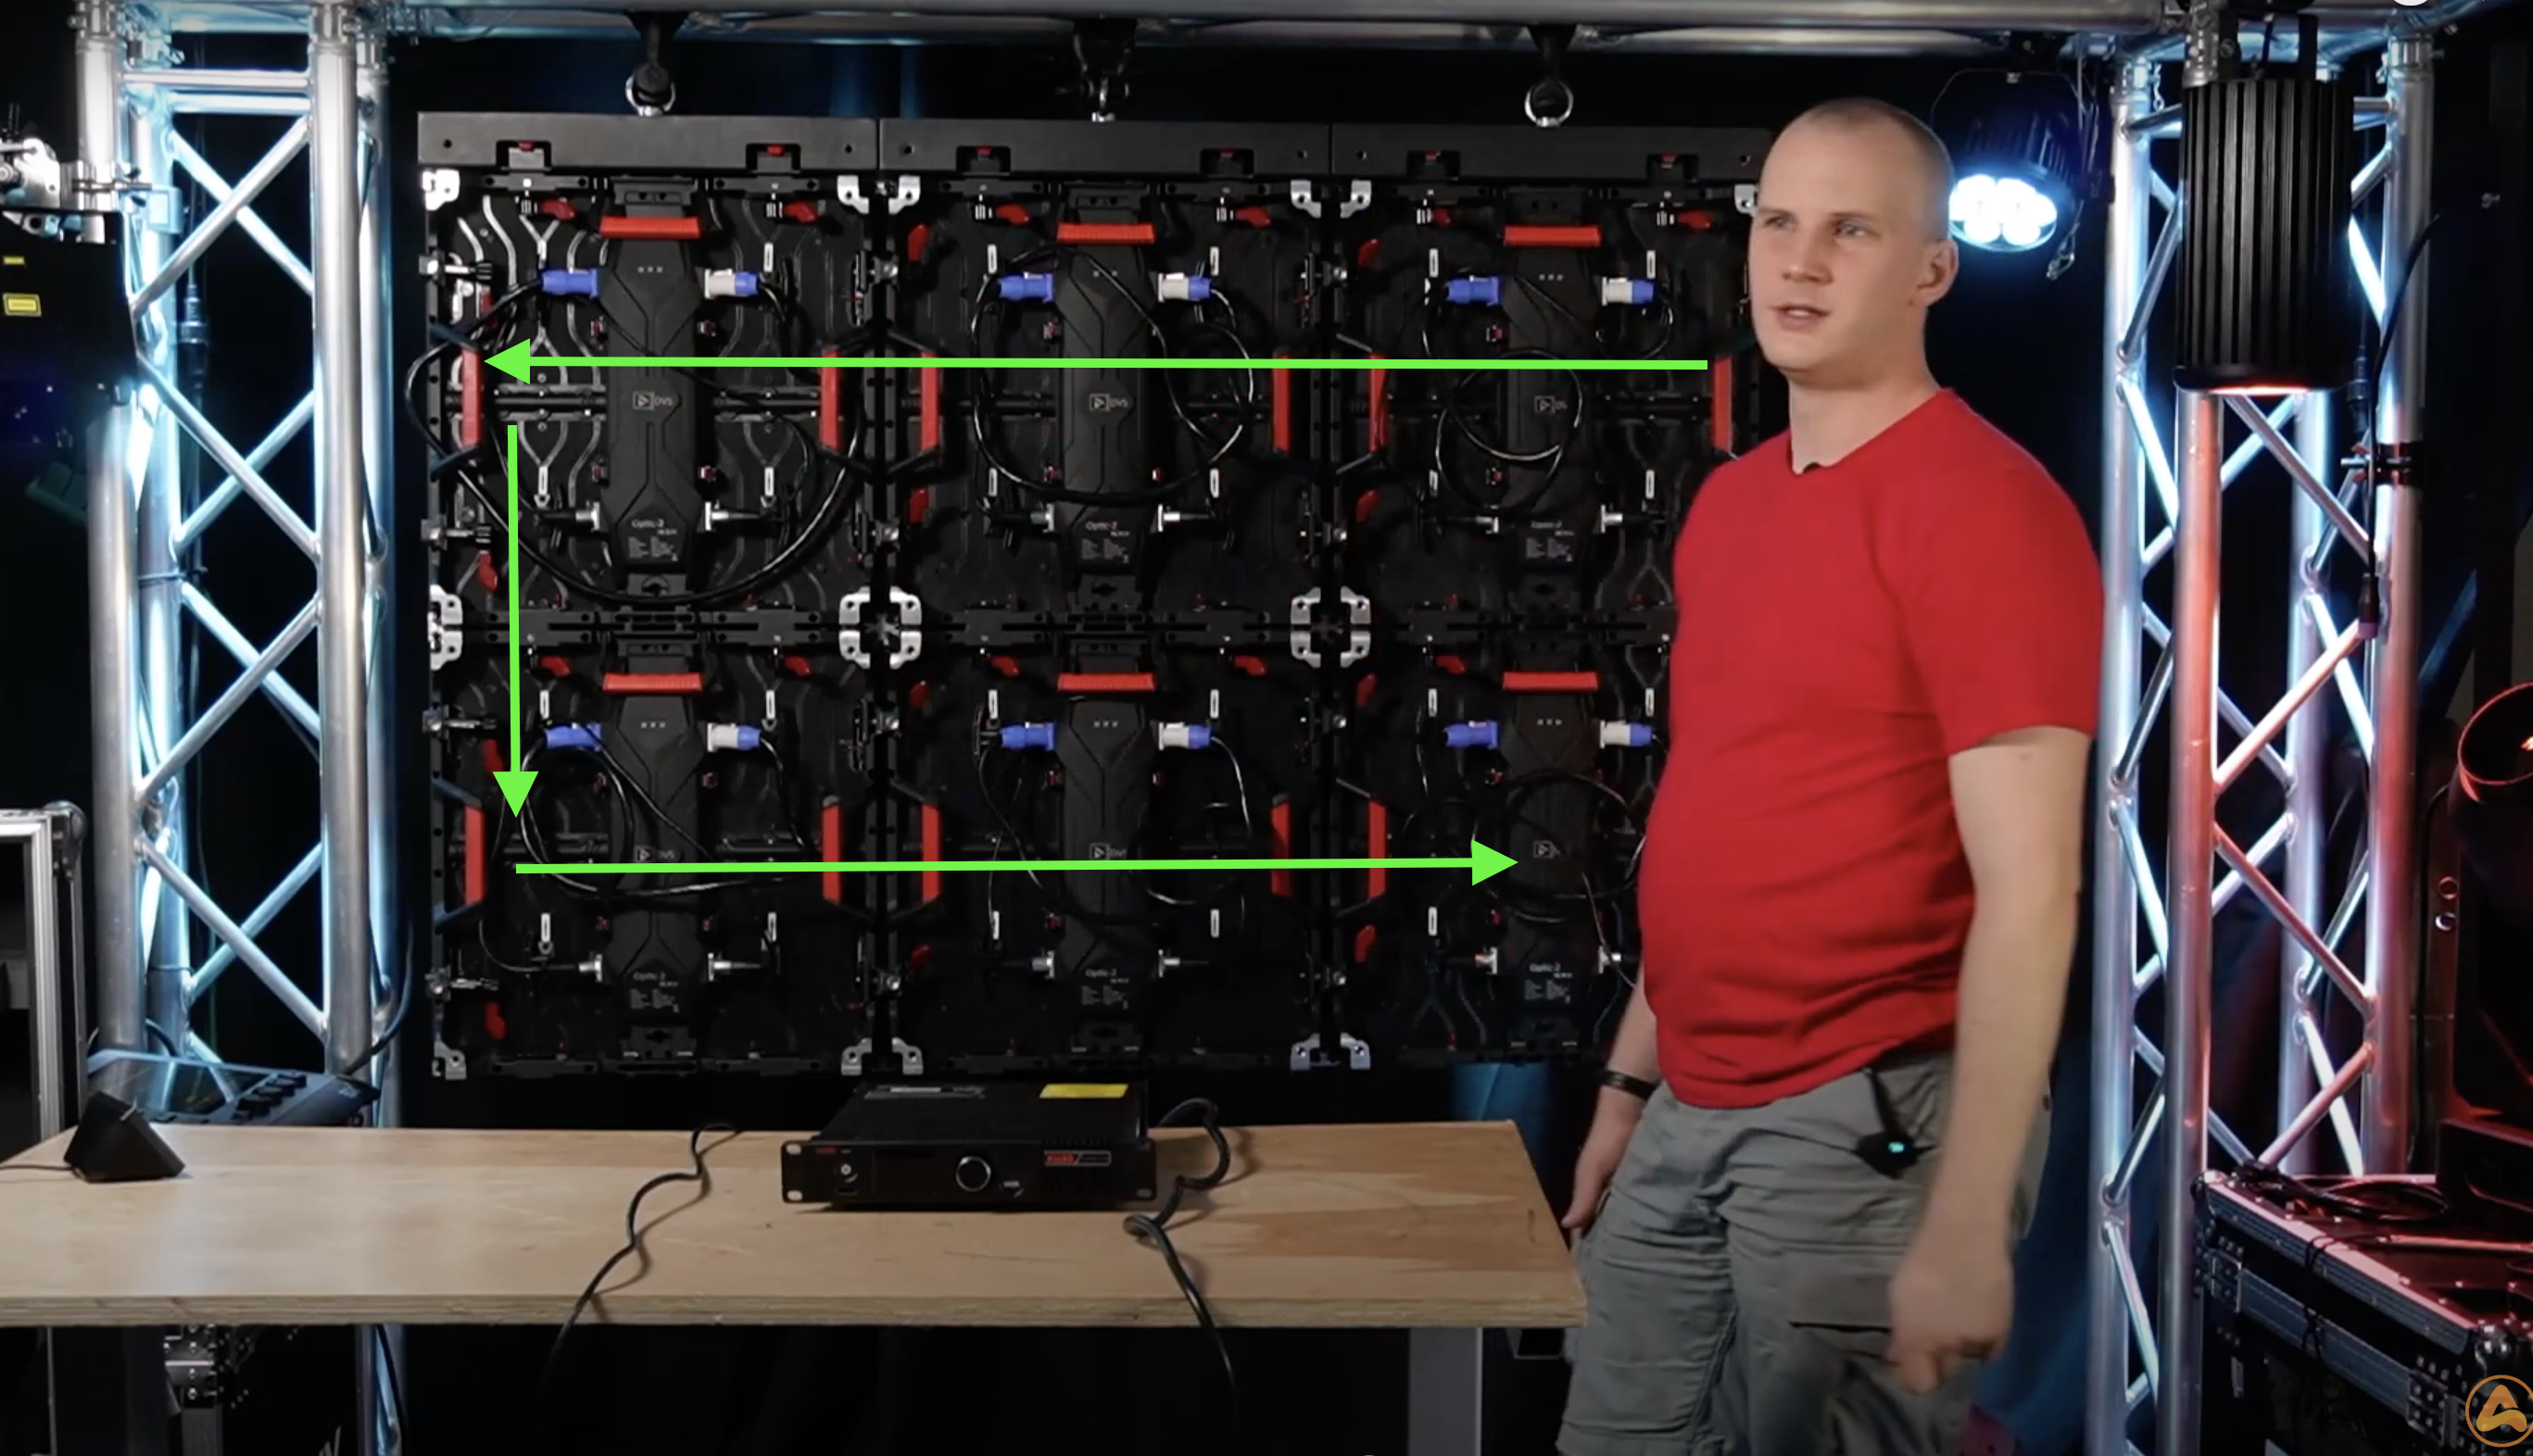
Before connecting any cables, plan your LED wall layout using configuration software connected to your processor to ensure you're within pixel and power limitations.Do power and data need to follow the same path when wiring the panels? No, they don’t. However, to maintain an organized setup and simplify future troubleshooting, it is recommended to have all your power and data flowing the same direction.
For most horizontal-style screens, it makes sense to go all the way across one direction, then down and across the opposite direction. If you’re using double-sized panels, make sure your jumper cables are long enough – some manufacturers include the same short side-to-side jumpers regardless of panel size.
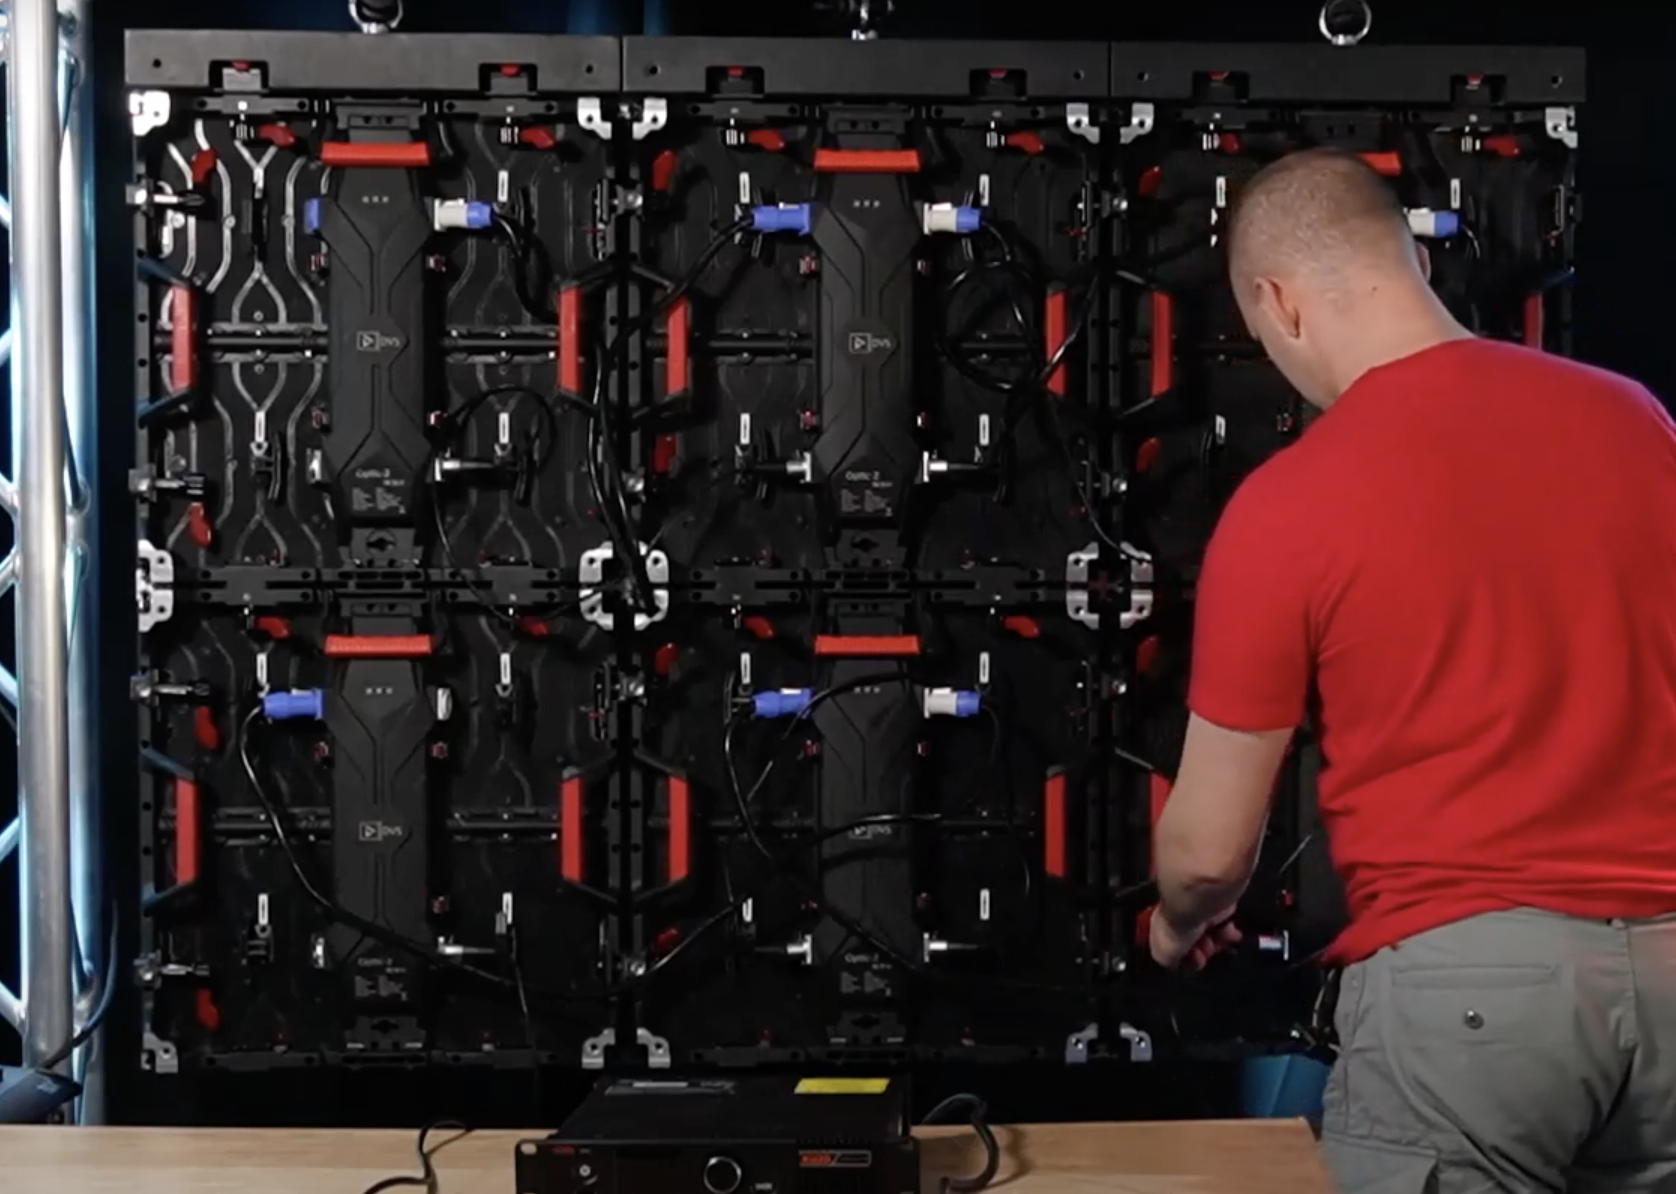
I like to store my jumper cables on the backs of the panels. That way, I just plug in the input to the output on both and it’s ready to go. That’s not necessary, just my personal preference. Depending on what cases you have for your panels, this may or may not work well. - Connect Power Cables
Connect power jumpers between panels, starting in one corner and following a zigzag pattern. -
Connect Data Cables
Daisy-chain the panels using Ethercon data jumpers.If possible, follow the same path for both power and data for easier setup and troubleshooting.
-
Connect Mains Cables
Plug the mains power cable into the fixture end first, then plug it into the wall second.Then, with the processor off, connect the mains data cable to the processor, and the other end to the first panel.
-
Power Up and Test
Turn on the processor and check for panel synchronization. Most LED panel brands will have status lights on each panel that blink together, and can be used for various test modes.Configure the wall using software to finalize setup.
-
Set Up Redundancy
For backup data connections, use another mains data cable, plug it in to a second processor port and then connect it to the end of the wall (the end of your zigzag pattern).Be sure to enable the backup feature in the software to ensure failover protection – if you don’t complete this step, the backup won’t work, so make sure you set up the redundancy feature and alerts in your software!
Final Thoughts
Wiring an LED wall properly ensures stability, reliability, and ease of maintenance. By following these best practices, you’ll have a well-functioning LED wall that minimizes troubleshooting headaches.
If you're considering purchasing an LED wall, check out our LED Wall Calculator at Above AVL, and we'll get the process started! Our calculator will help you find the correct size wall for your needs, and give you a comparison of cost with all of the pieces included, across multiple brands.
3 Mistakes You're Making When Purchasing Lighting, Audio or Video Gear:
You are most likely making these 3 mistakes which cause you to overspend, get the wrong gear, and end up frustrated. Grab our free guide to solve it:

