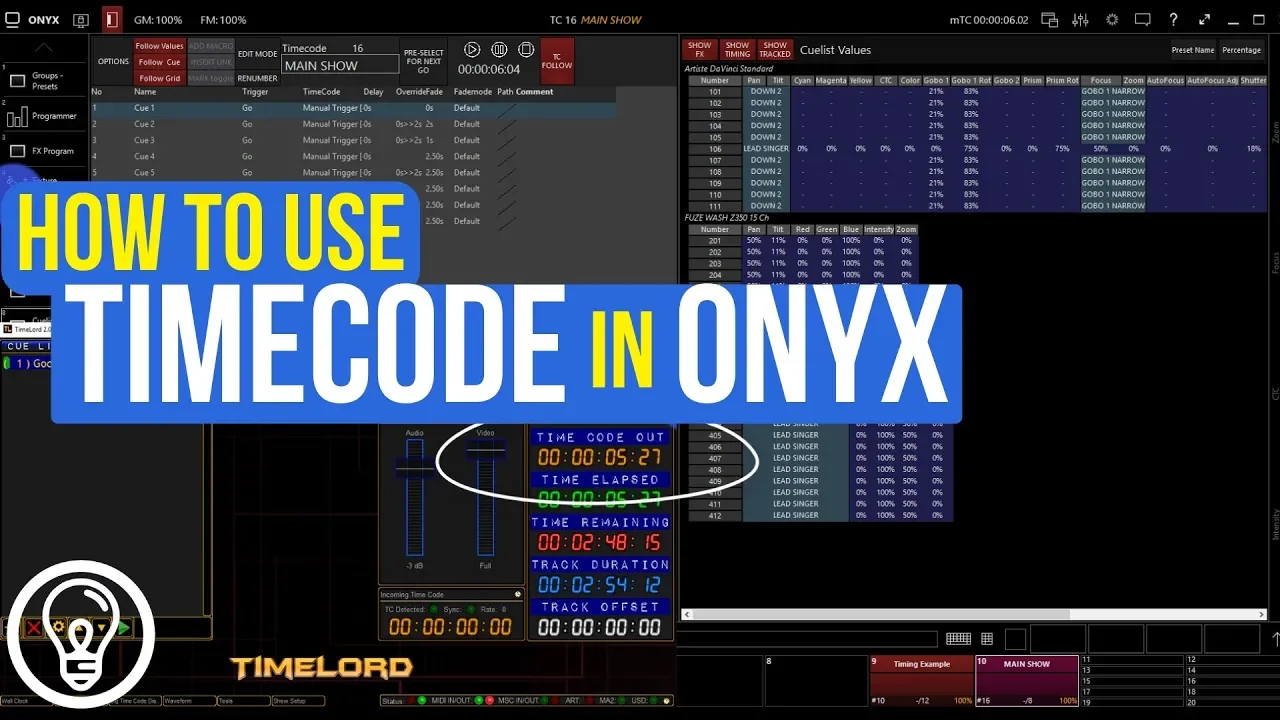
How Do You Use Timecode with Onyx?
Sep 06, 2022In this post, we’re going to break it down on how to use timecode with Onyx. Lately, I’ve seen a lot of requests about how to do this with ONYX. There are a couple of tools that I use to help make this much easier. LoopMIDI and TimeLord.
Setting up LoopMIDI
One of the tools I use is LoopMIDI which is a program used to loop MIDI. After installing this program, launch it, and click the “+” on the bottom left screen. This will allow you to create a new MIDI port.
Using TimeLord
TimeLord is another program that I use to work with timecode. If you use the free option during a show it will cut out during the show. If you plan on using TimeLord you definitely want to go with the paid version!
When launching TimeLord start with the Editor option. When this opens up you’ll have to set your MIDI devices. Set both the input and output as your loop MIDI’s and press “OK”.
Creating a New Cue
Once you have your MIDI devices set up you need to create a new cue. To create a new cue click the “+” located on the lower left of the screen.
Click “Source” and select the music file you want to use, then press “Apply”. On the right side of the screen click “Play” and the music will play and the timecode will start going as well.
Setting up Timecode in ONYX
Now that you have LoopMIDI and TimeLord set up you’ll want to open your ONYX program. In this tutorial, I used one of the demo files that came with the system.
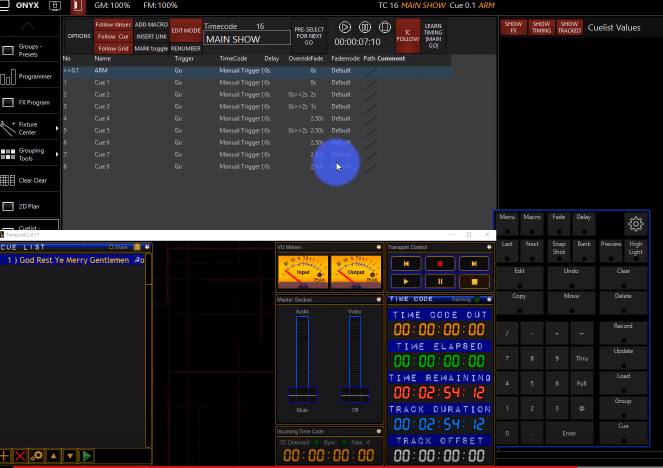
When launching ONYX, click “Load”, select the file, and click “Open”. Now that you have the show file loaded on the lower right click “Main Show”. Located on the left sidebar you will want to click “CueList Values”. Then, right-click the “Main Show” and turn it into a Timecode cue list.
Activating MIDI in ONYX
Now that we have the timecode cue list set up, we then need to activate the MIDI in ONYX. Click the Onyx Menu in the top left corner, click “Menu”, and then click “IO Settings”.

On the bottom menu click “Timecode”, set the “Active Mode” to MIDI, and then set the MIDI to “ON”, click “Apply”. You can close out the menu and then pull up your TimeLord screen and click “Play”. You should be able to see the TimeLord and ONYX are both playing.
Setting Up with Timecode Numbers
Before diving into more specifics it’s important to set up a Arming Cue in ONYX. So, on the bottom of the screen click you Cue creator. Click “Record” – “Cue” – “.1” – “Enter”. This will be used as my Arming Cue in the Timecode playlist.
Now that you know everything is in sync between ONYX and TimeLord, you can adjust and setup the timecode list as you wish.
In ONYX click the “Timing Main Go” and then play. If you need to change the timecode you can adjust this in ONYX. The time slot is set as Hours:Minutes:Seconds:Frames.
Going back to the arming cue, we have to set this up in ONYX because it have to have a cue previously set up to start everything. The reason why it does this is so that you can have multiple timecode lists and use whichever one you need at any given time.
HOW TO BEGIN WITH LIGHTING
Getting started with lighting is difficult. What tools do you need?
How do you know if what you're buying or using is the right solution?
Let me send you a FREE guide to help you begin with lighting:

