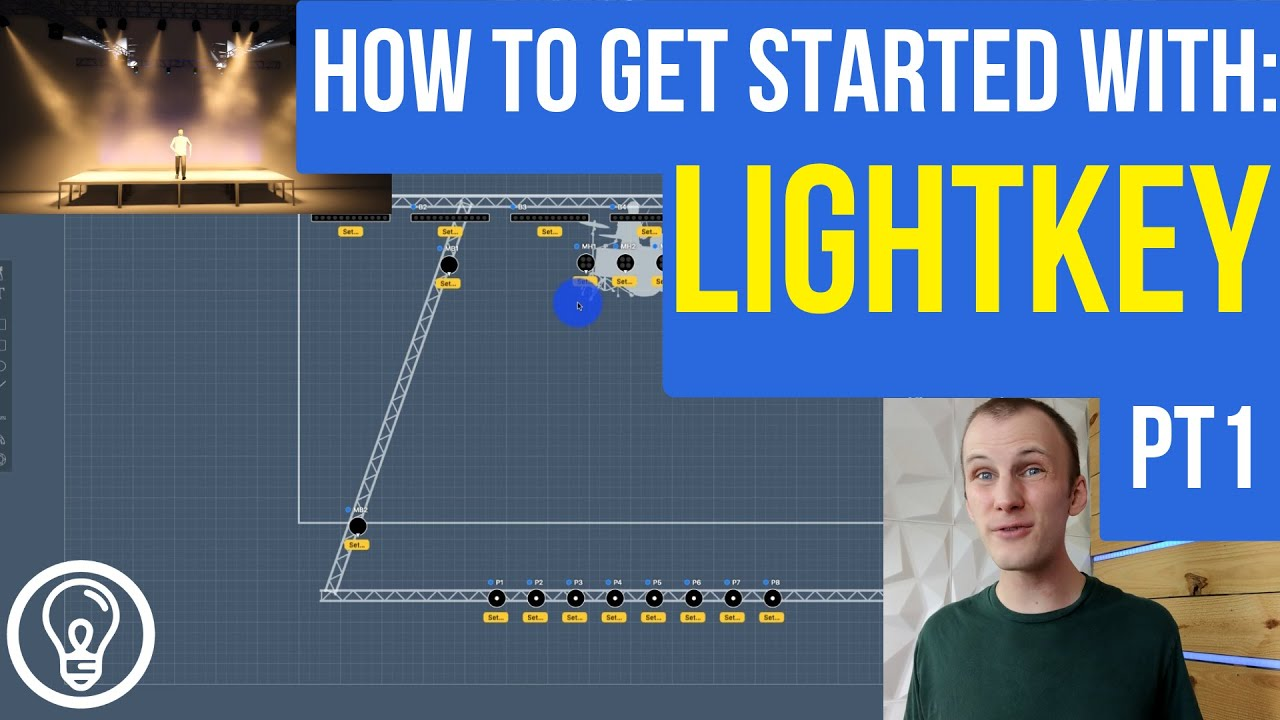
How To Get Started with LightKey – LightKey Basics Tutorial
Aug 01, 2022Inside of this tutorial I am going to help walk you through the basics of how to use and work with LightKey.
If you work with a Mac then LightKey has become a great lighting control option for those getting started.
Personally, I have seen LightKey come a long way with their lighting console and I was excited to work with the latest version to see first hand the capabilities of the console!
Getting Started
Once you have downloaded LightKey you will be brought to a welcome screen to get you started. To begin, just select “New Project”. A screen will then pop up and you will be able to name your new show.
Networking
The next step in LightKey is going to be setting your network and hardware options.
When setting up your DMX Output you will have a few options to select from. One of those options is working with USB, the only downfall to this that you will have to leave the USB plugged in while working with LightKey and your lights.
The next option is going to be your network-based selections which include Art-Net, sACN, and ESP Net. The network-based outputs are becoming increasingly popular and much more common. The only downside to this option is you have to set up the output on both LightKey as well as your node or MIDI.
Fixture Patching
Now, it’s time to patch in your fixtures inside of LightKey.
One of the features I really like about LightKey is their fixture library. Most likely you will be able to locate any brand and type of fixture. Since the library is huge I would recommend using the search feature. If your fixture happens to not be listed you can always import it into the fixture library.
Once you’ve located your fixture you can simply “drag and drop” your fixture into the selected universe. Once you do this you will have a popup box come up where you can set the start at, short name, count, and add multiples if you have the same type of fixture.
Now that you have added all of your fixtures just click “next” on the bottom of the screen.
Don’t see your “generic brand” fixture? Use the Onyx Fixture Finder website to find alternate names that will work! Click here to go to my guide to using this great resource!
Building Your Preview
Now that you have your output setup and your fixtures patched in LightKey the next step is setting up your preview. Just as a heads up please note after you add your fixtures and move to the preview screen all of your lights that you patched in will turn on.
When building your preview you will have a wizard guide helping you through the steps when you first begin. When setting up your preview you will have two options. You can either set it up as a topdown or front-facing preview. The most popular to work with is topdown but some prefer the front-facing preview. It’s really up to you and what works best for your preferences.
To begin, you simply “drag and drop” your lights into position. To set your stage shape, LightKey has a sidebar on the left that allows you to select a shape and draw your stage.
Also, in that sidebar, you can add different shapes, singers, drummers, trusses, etc that will really help bring the vision of your stage. If you prefer, you can always take a picture of your stage and upload it to LightKey.
Inside of LightKey, you can use the basic copy and paste commands to help build out your preview. When designing your preview just keep in mind that it doesn’t have to be perfect because the actual effects of the lights do not count on it. When you’re done designing your stage, click “Done” on the top wizard bar.
Grouping Your Fixtures
Once you have laid out your preview the next step is grouping your fixtures. One of the features of grouping fixtures that can be difficult is once you group a fixture that fixture can only be part of one group.
To group your lights you can simply select your lights while holding the shift key and then click the group icon on the top of the screen. When you’re done grouping your fixtures click the “Next” button on the wizard.
Light Beam Direction
Once you have your lights grouped, the last part of your setup is working with your light beam directions.
To set the beam directions you can “select” a light or highlight a group of lights and press “Set” and a screen will come up where you can set the direction of your light beam. Once you set the direction you can click “Next” in the popup and you will be able to see what your lights are doing.
There are other options you can set your lights up with if you want to such as limits and perception. Once you set the beam directions there will be a green checkmark next to the lights you just set.
You can continue through the rest of your lights and using the wizard to help walk you through the steps.
Programming with LightKey
In this next video tutorial, we walk through setting up effects and how you can program your lights with LightKey.
The Basics of Programming
To control and create cues, LightKey makes it very easy to do so once you get comfortable working inside of the program. To work with the lights you can do this by selecting the light, assigning MIDI controller to the lights, or using a keyboard shortcut, such as B for the bars.
To begin building a cue just select the light(s) you want to get started with. Once you select the ligh you will see a design tab located below the preview. Here is where you will be able to work with different parameters such as color, gobos, dimmer, etc.
To adjust your Pan & Tilt options you can use the keyboard shortcut of “Shift + P” and the parameter box will pop up for you to make the changes.
Once you’re done setting up the parameters just save these settings to your Preset Palette located on the right-hand sidebar. With the presets saved, you will then use those to save in the Live Tab located below the preview as your different cues.
Building a Cue
To build a cue you click the “Design” tab located below your preview. There you will have multiple parameter options such as dimmer, colors, gobos, and etc.
One of the first cues I personally like to record is every light on full. Inside of LightKey you can use the shortcut “A” to select all the lights and use the dimmer in the design tab to bring your lights to full.
To save this go to the Preset Pallet located on the right sidebar, right-click, and select “New Preset” or press Apple “N”. Next, you’ll be able to name the new preset and lastly, you can drag the new cue to the Live tab located below the preview. When done just click “Done” on the Live Tab to save it.
Adjusting the Button Type
If you want to change your saved cue button type, just right click on the cue, go to “Control Type”, and select the type of button you want it to be.
Creating Groups or Folders
Inside of LightKey you want to be sure to group your lights or in LighKey’s lingo create folders. Normally, you want to group your lights by their type so you can get to them quickly.
To group your lights just select the lights you want to group and in the preset pallet just right-click and select “New Group”. Then you will be able to name your new group.
The next step I would recommend doing is then inside of those group folders separate your presets from intensity, focus, color, and beam. This will help keep your presets organized.
Be sure to refer to the shortcut list located on the bottom right corner that will give the keyboard shortcuts to make quick changes to your parameters.
Copying Parameters
A very helpful feature inside of LightKey is when you set a parameter such as color you can right-click on the light and select “Copy Properties”. Then, select a light or group of lights, right-click, and select “Paste Properties”.
This is a very powerful tool inside of LightKey and a great way to help save you time when programming.
Inside of Learn Stage Lighting Labs, I go deeper and more into depth about programming with LightKey. One of my favorite tools that I offer to my Labs members is Using MIDI with LightKey. If you haven’t checked it out yet be sure to do so!
Creating Effects
To set an effect within LightKey you first want to select a light or group of lights. Using the design tab located below the preview select color and a drop-down will appear, select “Add Color Effect”.
A library of different effects will come up. Once you select an effect you can then modify it, change or add colors, even slow the speed for the effect to do exactly what you want it to do.
You can then save this effect in your preset pallet, and “drag and drop” it to your Live tab. Just to note you do need to turn off the effect before moving to program another cue.
Position Effects
To use and create position effects for moving lights you want to select a light or group of lights. Using the keyboard shortcut “P” you will open the pan/tilt window for the selected lights. Select “Position” and using the dropdown select “Add Position Effect”.
This will open a library of effects for your moving lights. In this library, there are actually two different types of effects. You have the blue effects and the wave effects.
With the blue effects, you are able to work with the 3D space in the pan/tilt window. This will allow you to modify the points they use. This is a very powerful tool and not often seen with other consoles.
With the wave effects, it is very similar to what most consoles already offer. You have the option to change the speed and you can modify off of the base points
HOW TO BEGIN WITH LIGHTING
Getting started with lighting is difficult. What tools do you need?
How do you know if what you're buying or using is the right solution?
Let me send you a FREE guide to help you begin with lighting:

