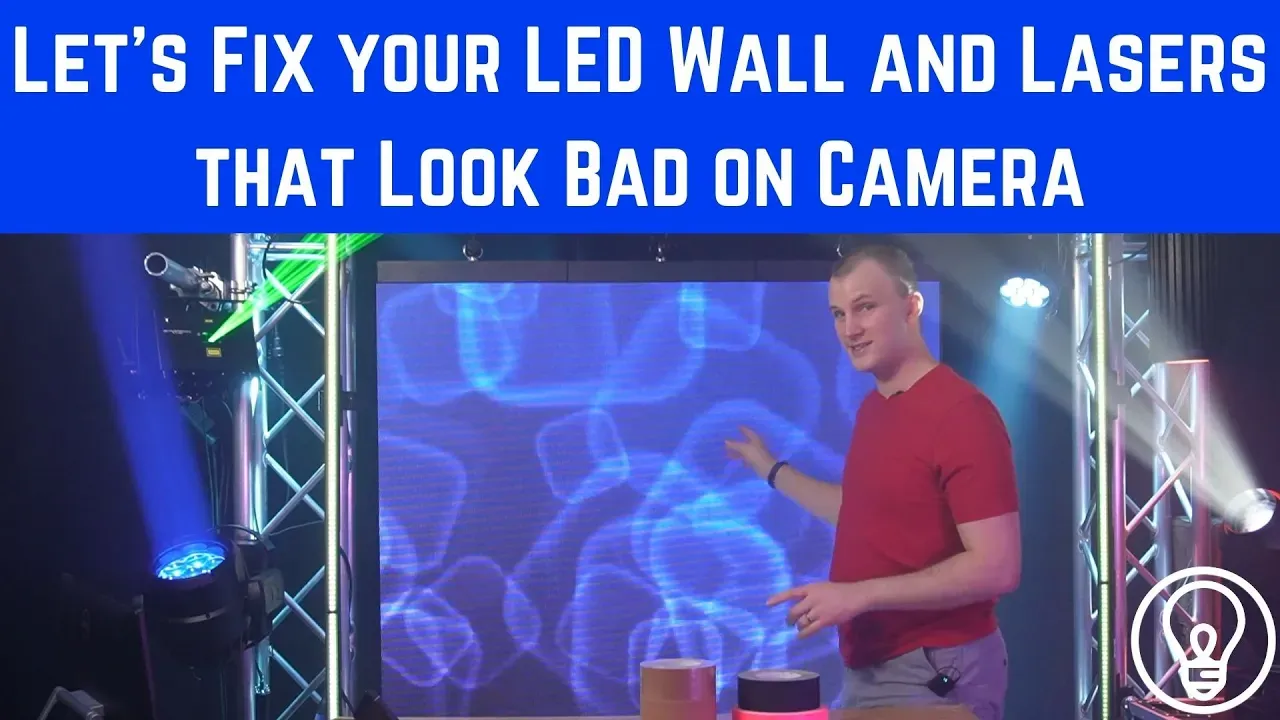
How to Make LED Walls Look Good on Camera
Jun 26, 2025In this article, I’m really excited to dive into something that can make or break your production: getting LED walls, lasers, and lighting to all look good on camera—at the same time.
If you’ve ever tried filming a stage setup with LED walls and lasers, you know the struggle. Maybe your LED wall looks pixelated or flickers, or you notice strange lines or patterns—what’s known as the moiré effect or banding/flickering (depending on the type of issue). Don’t worry—we’re going to explain how that happens and then walk through how to fix common issues using your camera settings, lighting adjustments, and a little bit of technical knowledge.
While every LED wall is different, these steps should help most walls to look better when you are having issues. That being said, the quality of the wall and the amount of R&D that goes into the design for camera matters GREATLY. This doesn't mean you have to buy the most expensive wall on the market to have great camera performance, but be careful with low-cost vendors. At Above AVL, we have a variety of options that range in price and specs, but are all designed for good on-camera performance.
Need a little help to visualize? Check out the correlating Youtube video here.
The Big Problem: Why LED Walls and Lasers Look Bad on Camera
One big issue affecting LED walls and lasers are CMOS sensors, which are in most video cameras. Unlike global shutter sensors (which capture the entire frame at once), CMOS sensors scan the frame line-by-line. That scanning can cause all sorts of problems, like:
- LED walls flickering or banding
- Lasers strobing or breaking up
- Moiré patterns from pixel-level detail on camera
See my example in this video. These issues stem from frame rate mismatches (frames out of sync), focus errors, and exposure inconsistencies. But thankfully, there are some practical solutions.
Step 1: Syncing Frame Rates to Eliminate Flicker and Banding
Genlock: The Ideal Solution
If your camera and video processor support Genlock, use it. It synchronizes the frame rates between your devices so your camera and LED wall refresh in harmony. No more banding or flickering effect.
No Genlock? Adjust Your Shutter Speed
If you’re working with consumer or mid-range cameras that don’t support Genlock, you can still eliminate flickering:
- Adjust the shutter speed slightly up or down.
- Re-expose ISO to maintain proper exposure.
This simple change can often eliminate visible banding or flicker from your LED wall or lasers.
Step 2: Tackling the Moiré Effect with Focus
The moiré effect appears when your camera is perfectly in focus on the individual pixels of your LED wall. The solution? Shift the focus away from the wall.
- Use manual focus—auto focus often locks onto the LED wall and causes moiré.
- Keep your subject (person, object) in sharp focus, not the wall. You can’t typically focus on something that is super close to the wall, but the finer the pixel pitch, the closer you can get.
- A shallow depth of field (lower f-stop) helps by naturally softening the wall behind.
Even with high-quality walls like the DVS VIZRA 2 that I use in my studio, moiré can appear when focused directly on the pixels—but goes away when you shift focus appropriately. This particular wall makes it easier to get rid of moiré as it has an excellent "mask ratio", meaning that the size of the pixel is very large compared to the blank space between each pixel.
If you’re shopping for new equipment and have the option, choose a global shutter camera. That will make it much easier to get the wall frame rate synced up and looking great on camera. However, it’s still possible to get things looking good with CMOS cameras - which are much more popular - it just takes a bit more finessing!
Step 3: Dealing with Lasers
Lasers and camera frame rates don’t always play nicely. You may see flickering or broken laser lines depending on your camera settings. Check out the video here for an example of different frame rates. Here’s how to fix that:
- Test different shutter speeds and frame rates.
- Find the “sweet spot” between your lasers or LED wall and camera where the laser or image appears solid and stable.
The “ideal” frame rate will vary depending on your laser’s scan rate and pattern, so experiment until you find the one that works for your equipment.
Step 4: Color Temperature and Lighting Balance
To make everything look cohesive on camera:
- Match your LED wall and front light source color temperatures as closely as possible. When lighting for camera, you’re always balancing the difference between the eye and the camera. If you have a warm white front wash, and you dial the color temperature in the LED processor down, it might start to look orange.
- For example, if your front wash is 3000K, try bumping it to 3300K and bring your LED processor down to 3800K.
- The result? Colors and whites that look great both on camera and to the eye.
Color consistency is key—try to get your front lighting, LED walls, and any other light-emitting fixtures as close to the same color temperature as possible (or as close as looks good, if you’re balancing what looks right to the eye for people in the room with what looks good on camera).
Step 5: Manual Everything
Set your camera to full manual mode. That means:
- Manual exposure: Balance the brightness level of your front light to a brightness on your LED wall that looks good.
- Manual focus: Set the aperture, f-stop, and depth of field.
Why? Because auto settings constantly shift, ruining the delicate balance you’ve created. Auto focus will keep trying to focus on the LED wall and cause that moiré effect. Dial in your settings manually and lock them in.
Bonus Tip: Choose the Right LED Wall
Brightness is important – but maybe not in the way you think! For indoor use, you want an LED wall with a maximum brightness under 1000 nits. Overpowered walls often need to be dimmed down so far that they lose color detail.
Some newer processors (like NovaStar) let you reduce input brightness while retaining color resolution—but that’s a deeper topic.
Bottom line: if your LED wall is too bright, it’ll either overwhelm your camera or force you to crank the exposure down so much that it looks overexposed compared to the folks on stage.
Wrapping It Up
To recap, getting LED walls and lasers to look great on camera takes:
- Matching frame rates and adjusting shutter speed
- Controlling focus to avoid the moiré effect
- Matching color temperatures across sources
- Going fully manual with your camera
- Choosing LED walls with the right specs for camera work
Yes, it takes some time to dial in your settings, but once you do, your stage will look amazing on camera.
Need Help Picking an LED Wall?
At Above AVL, we help you find the right wall for your space, your needs, and your budget. Check out our LED wall calculator or just shoot us an email. We’ll guide you through choosing the best option for your camera setup and stage size.
3 Mistakes You're Making When Purchasing Lighting, Audio or Video Gear:
You are most likely making these 3 mistakes which cause you to overspend, get the wrong gear, and end up frustrated. Grab our free guide to solve it:
